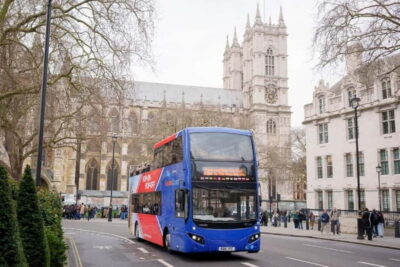
Bournemouth by bus is a simple win. You get big seaside views from a red double-decker, plus English audio that helps you place what you’re seeing fast. The best part is the flexibility: you can ride the full 90-minute loop or hop off when something catches your eye.
I love that the ticket is valid for 24 or 48 hours, so this isn’t just a one-shot sightseeing ride. You can return later for a beach stop, then circle back for the pier area without paying again. The main drawback is that service runs seasonally (typically May–September), and the last departure is 5pm, so timing matters if you’re traveling outside peak months.
In This Review
- Key Things to Know Before You Go
- A Red Double-Decker with Real Utility: Why This Tour Works
- Price and Value: What $23.43 Buys You (And What It Doesn’t)
- The Route in Plain English: Bournemouth to Poole and Back
- Bournemouth Pier to Bournemouth Square: Your Best First Stops
- Stop 1: Bournemouth Pier (Stand DD)
- Stop 2: Bournemouth Square (Stand X)
- Stop 3: West Hill Road
- Stop 4: Subway (Westbourne – Camden Bar)
- Boscombe, Branksome Chine, and Canford Cliffs: Coastal Views with Breathing Room
- Stop 5: Branksome Chine
- Stop 6: Canford Cliffs (Loch Fyne area)
- Stop 7: Shore Road (Sandbanks Beach: Shore Road)
- Sandbanks Beach Stops: When the Views Make the Schedule Worth It
- Stop 8: 19 Banks Rd (Sandbanks Beach: Pavilion)
- Stop 9: Panorama Road
- Stop 10: Pavilion (Sandbanks Beach: opposite Pavilion)
- Stop 11: 260-262 (Sandbanks Beach: opposite Shore Road)
- Lilliput Village to Poole Park: A Break from Just Beach and Pier
- Stop 12: Rockets and Rascals (Lilliput Village: Lilliput Square)
- Stop 13: Park Gates (Whitecliff Recreation Ground)
- Stop 14: 3 Hosier’s Ln (Poole Park: Park Gates East)
- Stop 15: Poole Quay Hotel (Poole Quay & Old Town: Thistle Hotel)
- Beyond the Quay: Baiter Park, Parkstone Railway, and the Pen Hill Area
- Stop 16: 106 Labrador Dr (Baiter Park)
- Stop 17: Park Gates (Poole Park)
- Stop 18: Parkstone Railway Station (Ashley Cross: Parkstone Railway Station)
- Stop 19: Penn Hill Corner
- Stop 20: 126A Poole Rd (Westbourne)
- Getting Back to the Town Center: The Triangle and Bournemouth Square Again
- Stop 21: The Triangle (Stand A)
- Stop 22: Exeter Road (Stand LL) (Bournemouth Square: Stand LL)
- Top Deck Strategy and Audio Tips That Actually Matter
- Dogs, Families, and Who This Tour Fits Best
- Season and Timing: Why 10am to 5pm Changes Your Day
- Should You Book This Hop-On Hop-Off Bus?
- FAQ
- How long is the full loop?
- How often do buses run?
- What time does the first and last bus depart?
- Is the audio guide available in English?
- How long is the ticket valid for hop-on hop-off?
- Does this tour include hotel pickup or drop-off?
- Is free cancellation available?
Key Things to Know Before You Go
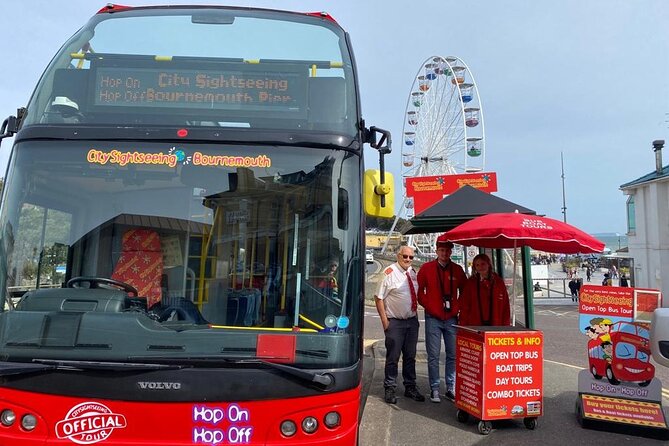
- 24 or 48-hour validity means you can break the route into chunks instead of rushing
- Top deck seats are best for coast views while the English audio explains what you’re passing
- The route focuses on Bournemouth Pier, Sandbanks, Lilliput Village, and Poole Park/Quay areas
- Departures run every 60 minutes, with a full loop at about 90 minutes
- Mobile and paper vouchers are accepted, and you can redeem them at stops along the route
A Red Double-Decker with Real Utility: Why This Tour Works
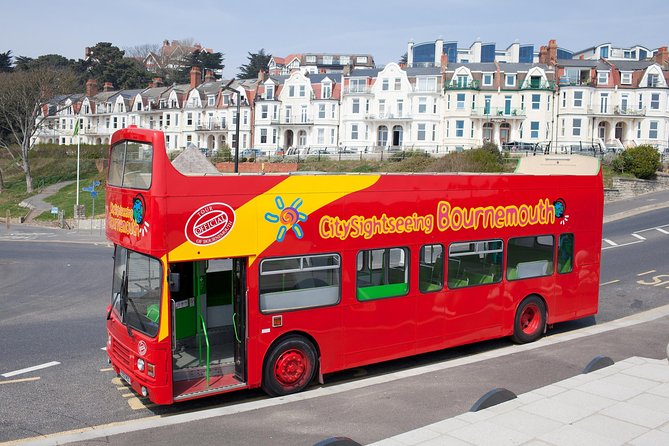
This is one of those tours that sounds too easy, then turns out to be exactly what you need. Bournemouth and the Poole side are spread out along the coast, so walking everywhere can eat your day. This bus lets you get your bearings fast, then choose your own pace.
You’ll also get a steady stream of context. The audio guide in English is there to turn random streets into a picture you understand. It’s not just facts for facts’ sake. When you know what you’re looking at—coastline, gardens, pier, and the Poole side—you enjoy the scenery more, and your day plan becomes easier.
The other real advantage is the ticket style. With 24 or 48 hours, you’re not forced into one tight itinerary. If you want to do the beaches in the morning and the parks later, you can.
Price and Value: What $23.43 Buys You (And What It Doesn’t)
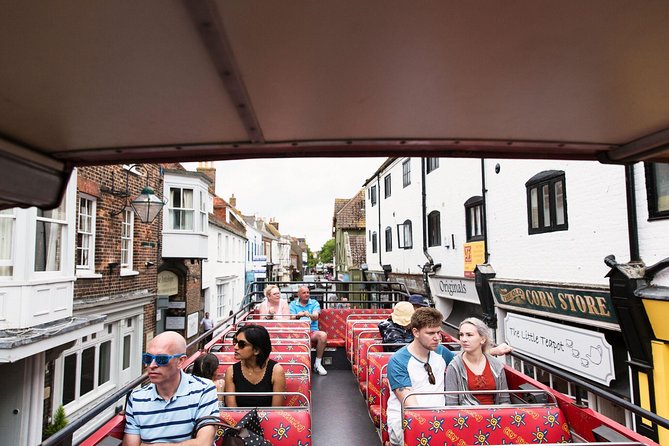
At about $23.43 per person, the math only makes sense if you use the flexibility. If you ride once, it’s still decent. If you ride, hop off, then ride again within the validity window, it becomes a bargain.
Here’s what’s included:
- Hop-on hop-off bus access for 24 or 48 hours
- English audio guide
- Your voucher is valid for 12 months from the travel date selected at check-out (useful if plans shift)
Here’s what’s not included:
- Attraction entry fees
- Food and drink
- No hotel pickup/drop-off
So think of this as your transportation ticket plus a guided explanation as you travel. You’re paying for convenience and context, not for paid museum time.
The Route in Plain English: Bournemouth to Poole and Back
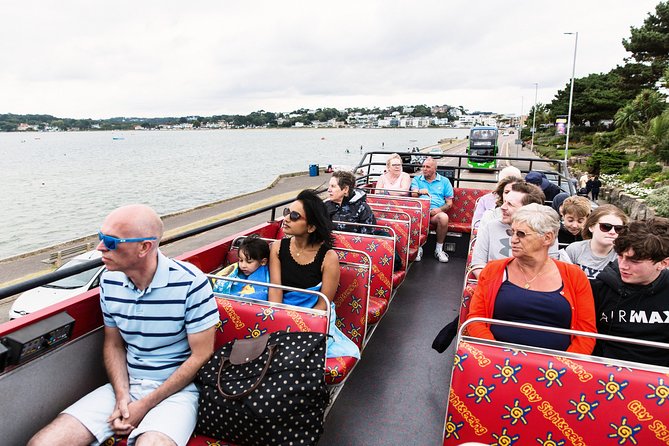
The loop is designed to connect the places most people actually want: pier and town center, then the coast stretch, then the Poole direction.
You’ll see stops around:
- Bournemouth Pier and Bournemouth Square
- West Cliff and the Westbourne area
- Boscombe and the more scenic coast spots
- Sandbanks Beach and the peninsula road viewpoints
- Lilliput Village and Poole Park
- Poole Quay & Old Town side of the route
Frequency is every 60 minutes, and the full loop is about 90 minutes. That schedule is useful. You can plan like: arrive, ride enough to orient yourself, then hop off for a specific area and return later on the next bus.
Bournemouth Pier to Bournemouth Square: Your Best First Stops
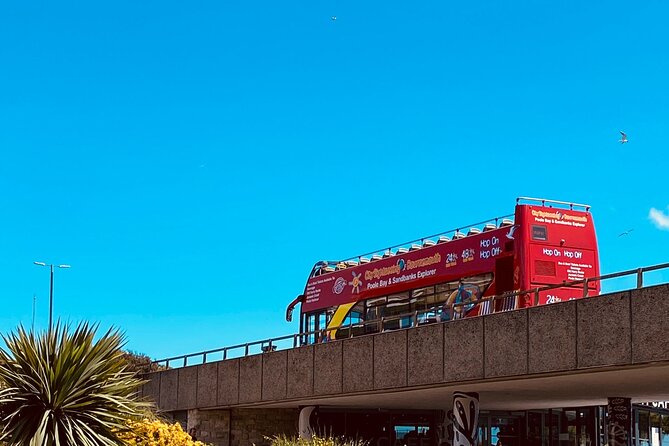
Most people start at the pier end, and it’s a strong choice.
Stop 1: Bournemouth Pier (Stand DD)
This is the most iconic start point on the route. You’ll also get a standout detail: Bournemouth Pier includes Europe’s first synthetic surf reef. Even if you’re not doing anything else there, that’s the kind of fact that makes the pier feel more than just a pier.
Tip: If you want photos, aim for the earlier part of the day when light is better and you aren’t fighting crowds.
Stop 2: Bournemouth Square (Stand X)
From here you’re back in the town-center rhythm. If you’re trying to do shopping, grab a bite, or just anchor yourself, this stop helps. It’s also a practical pivot point if you’re only planning a partial loop.
Stop 3: West Hill Road
Near the West Cliff Savoy Hotel, this area gives you a different view angle from the coast stops. It’s a handy “get out, look around, get back on” location, especially if you want a calm break from walking.
Stop 4: Subway (Westbourne – Camden Bar)
This is one of the “you’ll recognize it when you get there” stops. The value is simple: it puts you in the Westbourne area so you can mix sightseeing with street-level time. If you’re the kind of traveler who likes wandering neighborhoods, this stop earns its place.
Boscombe, Branksome Chine, and Canford Cliffs: Coastal Views with Breathing Room
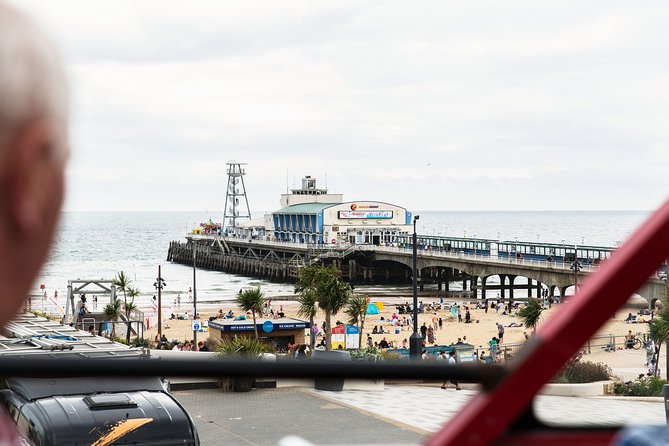
Once the route moves along this stretch, you’re trading crowded town streets for that long coastal feel.
Stop 5: Branksome Chine
This is a name you’ll hear in the region, and it signals a more scenic, residential-coast mood. If you like watching the shoreline change as you move along it, staying on the top deck here can be worth it.
Stop 6: Canford Cliffs (Loch Fyne area)
The stop name includes Canford Cliffs and you’ll be near Loch Fyne. That matters because it gives you a ready-made reason to hop off: you can eat nearby, then use the bus again when you’re ready.
Stop 7: Shore Road (Sandbanks Beach: Shore Road)
Now you’re in Sandbanks Beach territory. If your goal is postcard coast photos and relaxed beach time, this is the moment to start paying attention with your camera (or phone) out.
Sandbanks Beach Stops: When the Views Make the Schedule Worth It
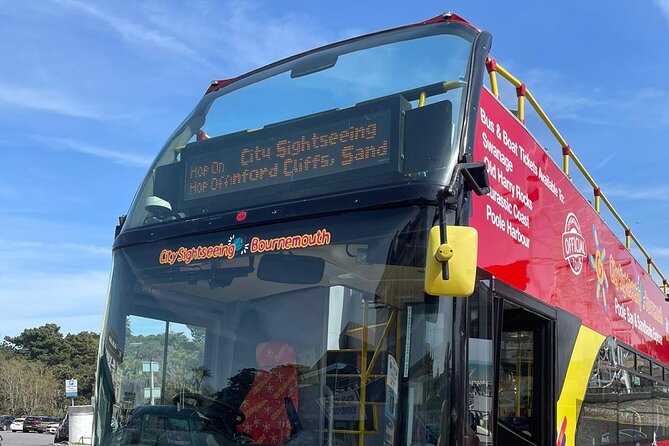
Sandbanks is where people tend to slow down. The route hits multiple stops in this area, which is good, because each one serves a slightly different convenience point.
Stop 8: 19 Banks Rd (Sandbanks Beach: Pavilion)
You’re close to the Pavilion, which is useful if you want a straightforward beach plan. Even if you’re not sure what you’ll do yet, having a known landmark helps you decide quickly once you’re there.
Stop 9: Panorama Road
This stop is described as being on the main road half way between Lovo Drinks and Haven Ferry Cafe. That style of instruction is actually helpful if you’re navigating in real life. It means you’re not just looking for a vague spot—you can reference the nearby businesses.
Tip: If you’re getting off for a beach walk, pick one stop to start and then use your legs later. It’s easier than hopping repeatedly.
Stop 10: Pavilion (Sandbanks Beach: opposite Pavilion)
This is essentially a second nearby boarding point. Having more than one stop in the same zone means you’re less likely to feel trapped. If one side is crowded, you can shift your position later.
Stop 11: 260-262 (Sandbanks Beach: opposite Shore Road)
Another close-by stop, which helps if you want to access the beach from a slightly different angle.
Lilliput Village to Poole Park: A Break from Just Beach and Pier
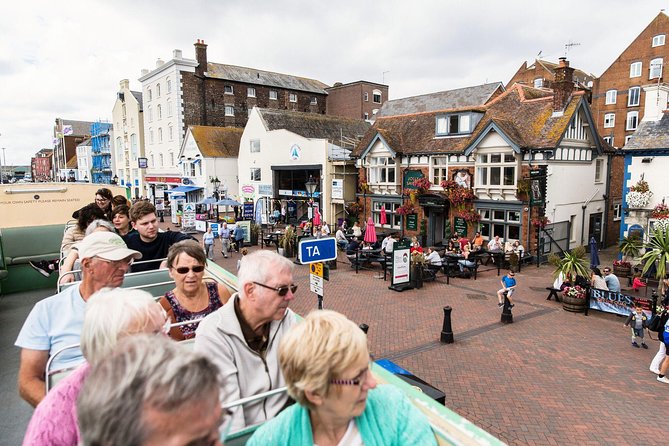
If you’ve spent time on the coast, this part of the route gives you a calmer, more park-and-village feel.
Stop 12: Rockets and Rascals (Lilliput Village: Lilliput Square)
The stop name is basically a clue: this zone connects to Lilliput Village and Lilliput Square, and it’s the kind of stop that can work well for families or anyone who wants a gentler pace.
Stop 13: Park Gates (Whitecliff Recreation Ground)
This stop is linked to Whitecliff Recreation Ground. If you want green space breaks between viewpoints, hopping off here makes sense. It’s also a good option when you want shade and room to stretch.
Stop 14: 3 Hosier’s Ln (Poole Park: Park Gates East)
This one places you at Poole Park. Poole Park is the sort of stop you use when you want a slower hour: walk a loop, rest, then get back on before you lose your bus window.
Stop 15: Poole Quay Hotel (Poole Quay & Old Town: Thistle Hotel)
This is the Poole-side “main event” stop. Poole Quay and Old Town is the kind of area where sightseeing blends with atmosphere. Even if you don’t plan an official attraction, the waterfront and historic-feeling streets can fill a couple hours nicely.
Beyond the Quay: Baiter Park, Parkstone Railway, and the Pen Hill Area
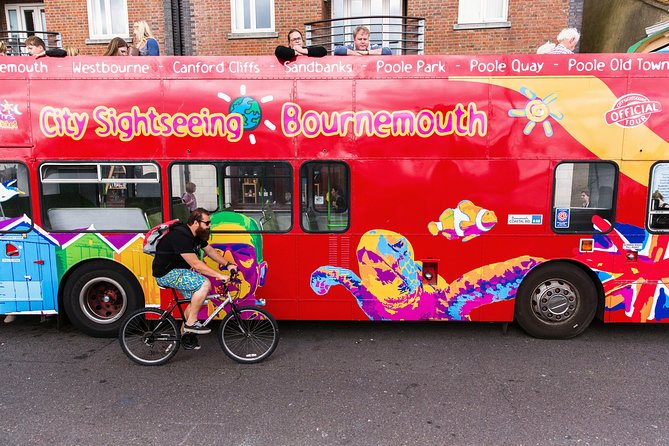
After the quay, the route expands into more residential and local-feeling stops—often a relief if you’ve been in tourist zones.
Stop 16: 106 Labrador Dr (Baiter Park)
This puts you near Baiter Park. Expect it to feel more like a place locals enjoy than a postcard spot. That’s not a downside. It’s what helps you see the region as a living place.
Stop 17: Park Gates (Poole Park)
Returning to Poole Park shows the route is built for flexibility in that area. If you hopped off earlier and want to come back later, this gives you an easy re-entry point.
Stop 18: Parkstone Railway Station (Ashley Cross: Parkstone Railway Station)
This is a practical stop. A railway station zone means you can orient yourself easily and it’s often a good “meeting point” if you’re traveling with friends.
Stop 19: Penn Hill Corner
Just as described, this stop is meant for that Penn Hill corner area. It’s useful if you want the bus to handle transport while you explore streets nearby on foot.
Stop 20: 126A Poole Rd (Westbourne)
This brings you back toward Westbourne. If your day is split between the Poole side and Westbourne, you’ll appreciate having the bus connect them directly.
Getting Back to the Town Center: The Triangle and Bournemouth Square Again
Stop 21: The Triangle (Stand A)
This is a key central junction area. If you’re riding the full loop, this is where it often helps to know you’re moving back toward Bournemouth’s core.
Stop 22: Exeter Road (Stand LL) (Bournemouth Square: Stand LL)
This is your return to the Bournemouth Square zone, giving you an easy way to finish close to town-center plans.
Top Deck Strategy and Audio Tips That Actually Matter
If you do one thing differently, do this: sit on the top deck when you can. The tour’s whole point is the coastline views. From up top, you’re looking across the sea instead of at hedges and bus windows.
The English audio also makes the route more satisfying. It’s most useful when you aren’t rushing. I’d treat the first half of the ride as your orientation lap, then use hop-off time to follow your favorite stops.
One fair warning from real-world experiences: audio quality can vary depending on the day and the driver. If the commentary sounds weak or off on part of your ride, don’t panic. Just enjoy the scenery for what it is, and rely on the stop names to guide what you do next.
Dogs, Families, and Who This Tour Fits Best
This is one of the few sightseeing options that explicitly welcomes pets: dogs are welcome on-board as long as they’re well-behaved and kept on a lead.
This tour also suits a wide range of travelers because it’s built around flexible time. You don’t need to commit to one attraction. You can get off for a pier moment, ride again, and later do a park walk.
Who it’s best for:
- First-time visitors who want to understand the city layout quickly
- Beach lovers who want Sandbanks access without complex local transport
- Families who prefer simple transport with clear stop landmarks
Who might want a different plan:
- People who only want one very specific attraction and won’t use the 24–48 hour flexibility
- Travelers who dislike anything seasonal and are in town outside May–September (typical season; dates can vary)
Season and Timing: Why 10am to 5pm Changes Your Day
This bus is seasonal, typically running May–September. If you’re traveling in shoulder months, confirm the operating dates before you plan your whole itinerary around it.
In peak season, timing is clear:
- First departure: 10am from the pier area
- Last departure: 5pm
And since buses run about every 60 minutes, you’re not stuck waiting long. Still, the last-departure clock matters. If you want evening plans, hop off earlier and don’t treat it as your late-night transport.
Should You Book This Hop-On Hop-Off Bus?
Book it if you want an easy, low-stress way to connect the coastline, pier zone, and the Poole side without buying multiple tickets or over-planning your day. The 24 or 48-hour validity is the real value lever. Use it, and it pays you back.
Skip it if you’re the kind of traveler who barely rides transit and only wants one stop. In that case, you might do better with point-to-point local transport and a shorter, cheaper plan.
If you’re aiming for a smart first day in Bournemouth (with a Poole angle), this tour is a practical choice. Get on at the pier, take in the views from the top deck, then let the route guide your next move.
FAQ
How long is the full loop?
The full tour duration is about 90 minutes.
How often do buses run?
Buses run every 60 minutes.
What time does the first and last bus depart?
The first tour departs at 10am, and the last tour departs at 5pm.
Is the audio guide available in English?
Yes. The bus includes an audio guide in English.
How long is the ticket valid for hop-on hop-off?
Your pass is valid for 24 or 48 hours.
Does this tour include hotel pickup or drop-off?
No. Hotel pickup and drop-off are not included.
Is free cancellation available?
Yes. You can cancel for a full refund up to 24 hours in advance of the experience start time.