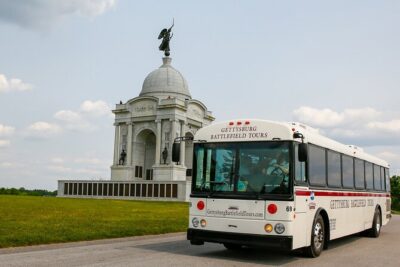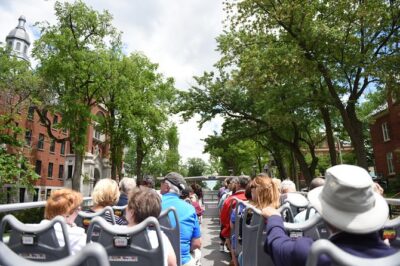
Trolley freedom beats Honolulu traffic. This Waikiki hop-on hop-off tour makes it easy to stitch together the island’s top sights without worrying about parking or bus timing, and you can ride by pass for 1, 4, or 7 days. Start at the Royal Hawaiian Ave stop, hop on at stops along your chosen line, and let the narrated ride connect the dots from Waikiki to places like Diamond Head and downtown.
I love two things most: the flexibility to build your own day, and the way the drivers narrate what you’re seeing so the stops feel more meaningful than just moving between hotels. On recent rides, the commentary stood out for real clarity and personality, with drivers like Tyler, Tim, Sam, Oli, and Carl calling out local context as you pass major landmarks.
The main drawback to plan for is crowding. In peak times, trolleys can run full, and you may spend stretches standing instead of sightseeing comfortably, especially if you wait until later in the day.
In This Review
- Key highlights worth catching
- Waikiki hop-on hop-off: why it works in Honolulu
- Price and pass options: what $22 really buys you
- Where to start: 320 Royal Hawaiian Ave (and how to not get stuck)
- Blue Line stops: Diamond Head energy plus the east-side icons
- Red Line stops: history markers to Aloha Tower and Chinatown
- The other lines around Waikiki and Ala Moana: practical shortcuts
- How the ride feels: seating, rules, and what drivers add
- Building your own day: a simple plan that reduces stress
- When things go wrong (and how to prevent it)
- Who should book this trolley pass
- Should you book it?
- FAQ
- Where is the ticket redemption point?
- How long is the hop-on hop-off experience?
- What pass lengths are available?
- Can I start at any stop or only one location?
- Are admissions included for attractions?
- Does the tour include hotel pickup and drop-off?
- Is food or smoking allowed on board?
- What baggage can I bring?
- Is the tour narrated, and is it in English?
- Is the tour refundable or changeable after booking?
Key highlights worth catching
- Blue Line views for first-time orientation: scenic east-side stops that help you decide what to revisit.
- Red Line city hits: Iolani Palace, Punchbowl, and the downtown core in one ride.
- Hop on again without retracing: if you stay on schedule, you can float between stops at your own pace.
- Onboard narration that actually helps: drivers like Sam and Oli make the history and sights easier to connect.
- Multiple pass choices: single-line riding or an all-lines option if you want maximum coverage.
Waikiki hop-on hop-off: why it works in Honolulu
Honolulu is easy to love and easy to over-plan. Distances are short on a map, but traffic, parking, and limited time can turn a simple outing into a timing headache. That’s where this trolley format shines. You’re not trying to memorize bus routes; you’re riding a loop that drops you where you already want to be.
A second win is mental. On your first day, you want your bearings, and these lines give you a moving overview of Waikiki, the east side, and the downtown arc. When you hop off at one attraction, you’re not stuck. You can simply re-board on the same line and keep going.
Price and pass options: what $22 really buys you
The tour is listed at $22 per person, and it comes with hop-on hop-off access rather than one fixed guided route. The bigger value is that you’re not locked into a strict timeline. Depending on your pass, you can keep riding the line(s) you chose for 1, 4, or 7 days.
One practical thing: the loop ride itself is about 2 hours (approx.). Think of that as your moving frame. If you’re strategic, you can do a full loop in one day, then spend additional days repeating only the parts you liked most.
Admissions are not included. That matters because the trolley can get you close, but you’ll still need to buy entry for ticketed attractions on your own (for example, the zoo, aquarium, and paid experiences near major sights).
Where to start: 320 Royal Hawaiian Ave (and how to not get stuck)
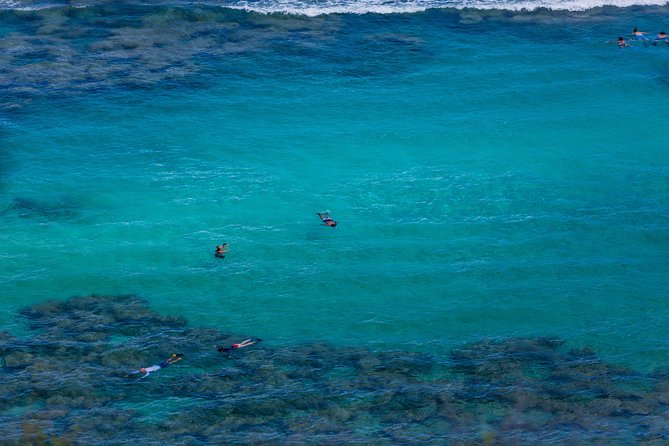
Your ticket is redeemed at 320 Royal Hawaiian Ave, across the Waikiki Shopping Plaza. This is the anchor point that keeps everything simple, especially if you’re arriving from a hotel on foot.
From there, you can start your tour at stops along the line you selected. I’d still recommend getting early and making the first boarding easy. When you roll in during the busiest hours, you can end up waiting longer and you might see more standing-room situations.
One more tip from real-world friction: double-check which line your pass covers. There have been cases where people realized too late that the line they expected wasn’t the one they had, which turns a fun day into confusion.
Blue Line stops: Diamond Head energy plus the east-side icons
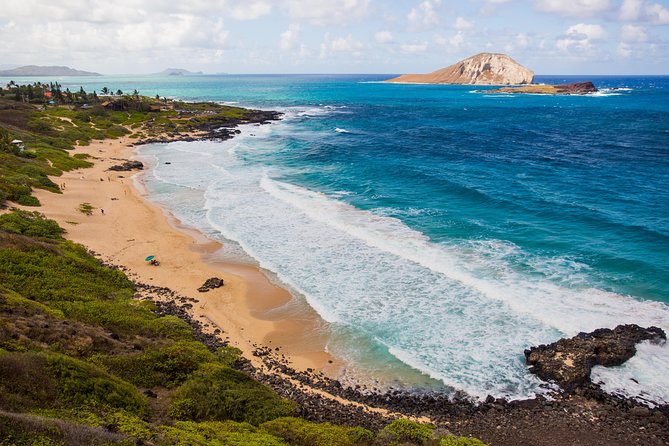
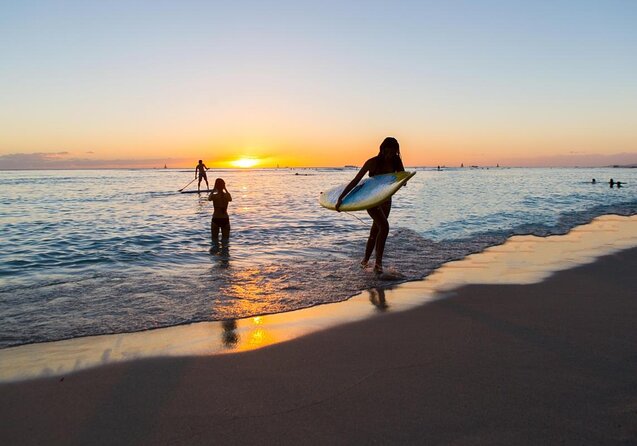
If you want ocean views and classic Honolulu scenery, the Blue Line is the one to prioritize. It runs through Waikiki and stretches toward Diamond Head and the east side, which is ideal if you want beachy atmosphere plus a few major stops you can pair with walking.
Here’s how the key stops play out in real life:
Waikiki Shopping Plaza / 320 Royal Hawaiian Ave
This is your launching pad. You’ll feel the Waikiki rhythm quickly before you head outward.
Duke Paoa Kahanamoku Statue
This one is a quick photo moment that also sets the tone: Hawaiʻi’s surf and cultural legacy show up right from the start.
Honolulu Zoo
Good if you want a half-day or a timed visit. Since admission isn’t included, check your plans before you hop off so you’re not guessing at entry logistics.
Waikiki Aquarium
An easy match if you’re traveling with kids or you want an air-conditioned option. Again, admission is separate, so plan budget and timing.
Kahala Mall
This is the practical mid-route break. You can hop off for snacks or errands, then return to the trolley when you’re ready.
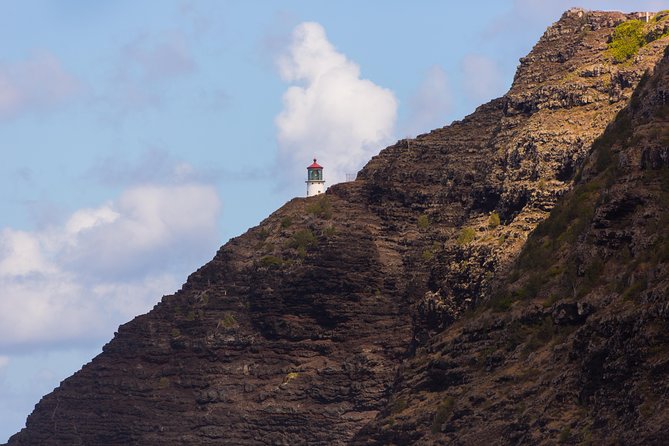
Halona Blow Hole
This is the kind of sight you’ll appreciate more for the atmosphere than the length of your stop. It’s also exposed, so expect wind.
Sea Life Park
If you want marine-life entertainment, this is one of the larger ticket stops on the east side. You’ll need to arrange admission separately.
Koko Marina Center
Nice for a break and a low-stress wander. It’s also useful if you want to combine the trolley ride with a calmer slice of the coast.
Diamond Head Market & Grill area (including Aloha Pineapple Cafe’)
This is an easy lunch-style stop. It’s also a strong re-boarding point because it sits right in the zone where you can decide what’s next.
Rainbow Drive-In (local foods stop)
This is the kind of detour that makes the trolley feel worth it even if you don’t plan a full schedule. It’s food-first energy, so keep it for when you want a casual meal.
Bottom line for the Blue Line: it’s a smart way to get a taste of the east side and decide where you want to spend real time afterward.
Red Line stops: history markers to Aloha Tower and Chinatown
The Red Line is for people who want the city’s major landmarks and a clear route into downtown Honolulu. It also includes some stops that feel like a timeline: royal sites, memorial spaces, and cultural architecture, then the harbor area and Chinatown.
Key stops and what to expect:
The Twin Fin Hotel
A recognizable hotel-area stop that also helps you connect Waikiki to the museum-and-capitol belt without walking far.
Honolulu Museum of Art (HoMA)
Worth knowing: HoMA is listed as closed Mondays to Wednesdays. If your timing lands on those days, hop off for the surrounding area anyway, but don’t plan on museum entry.
Hawaiʻi State Capitol + Iolani Palace
This is a big reason to pick the Red Line. You’re close to two of the most significant royal/government landmarks in the city. Since the trolley is your connector, you can handle the paid entries on your own schedule.
Punchbowl Crater and National Memorial Cemetery of the Pacific
This is the stop that changes the mood of the day. It’s meaningful, so plan to move with respect and allow time for walking and viewing.
Foster Botanical Garden
If you want a slower, quieter break, this fits. It’s a good counterweight if your previous stop day was heavy.
Izumo Taishakyo Mission of Hawaiʻi + Royal Kitchen
Cultural architecture plus a food stop. This combination works well if you want one side of the day to be history/culture and another part to be practical.
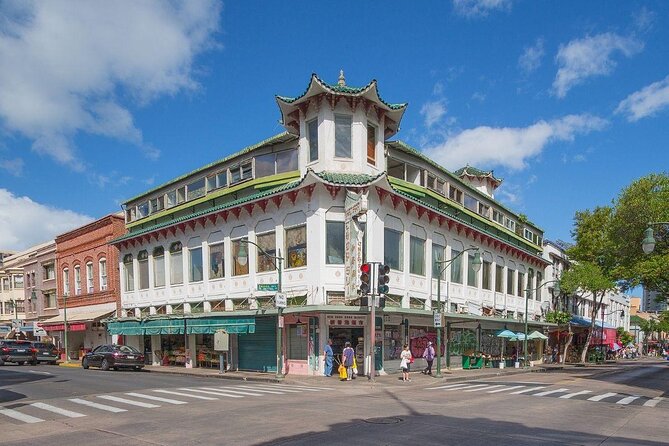
Chinatown + Downtown Honolulu + Hawaiʻi Theatre
This can be hit-or-miss. I’ll be direct: the atmosphere here is not for everyone, and it can feel dirty or uncomfortable depending on the exact spot and time of day. If you’re short on time, I’d treat this as a quick window to the area rather than the entire highlight of your day. If you do hop off, keep your re-boarding plan clear.
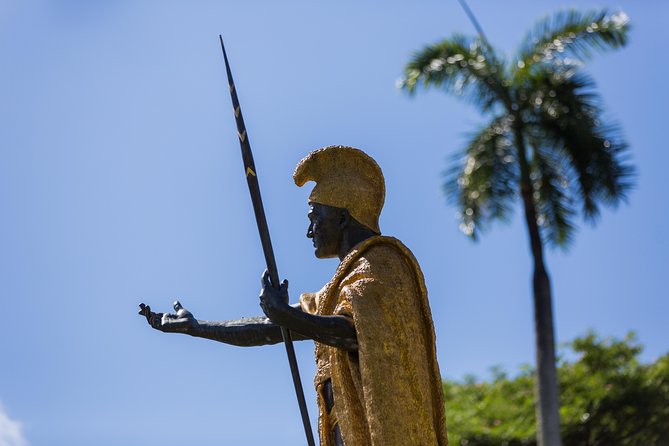
King Kamehameha Statue
A simple photo stop that lands you in the downtown pulse.
Aloha Tower Marketplace
Great for harbor views and a more “Honolulu postcard” finish. If you want a shopping or snack moment, this is one of the easier stops.
SALT At Our Kakaʻako + Ward Centre
These are modern-city breaks between classic landmarks. They’re useful when you want something current after the older sites.
Ala Moana Regional Park
A good decompression stop if you want space between heavy sights and evening plans.
For the Red Line, the payoff is pacing. You can start with major landmarks, take a breath at gardens or parks, then end near the harbor. Just don’t expect Chinatown to be everybody’s comfort zone.
The other lines around Waikiki and Ala Moana: practical shortcuts
Not every line is about big single-icon stops. Some are about convenience—getting you between your hotel zone and the parts of town you want without a car.
One of the line loops is especially useful for Waikiki-to-Ala Moana mobility, with hotel-area stops and food/shopping anchors. You’ll see stops such as Hilton Waikiki Beach Resort & Spa, Ilikai Hotel & Luxury Suites, Hale Koa Hotel, and Ka Laʻi Waikiki Beach, plus dining stops like Marugame Udon and IHOP.
If you’re trying to do food and errands between attractions, this style of route helps. It can also be a lifesaver after a long day when you don’t want to walk back.
There’s also a practical stop at KCC Farmers’ Market listed as Saturdays only. If you’re in town on a Saturday, treat it as a morning plan and let the trolley do the heavy lifting.
How the ride feels: seating, rules, and what drivers add
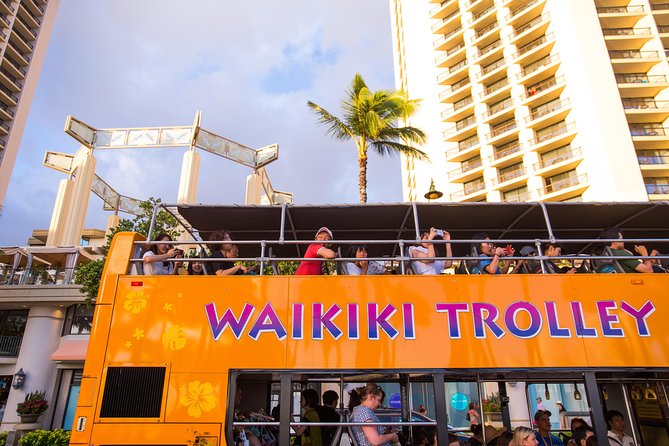
This is a mix of double-decker bus and open-air trolley style. Either way, the ride quality is less about luxury and more about function: easy boarding, clear stops, and narration that makes landmarks easier to place.
Keep in mind the onboard rules:
- No food, drinks, or smoking on the vehicle
- Shirts, cover-ups, and footwear must be worn
- Baggage is limited to 24″ x 18″ x 12″ and must be stored on your lap
- Foldable strollers and items like boogie boards can be tricky; don’t let them interfere with other seats
- Don’t stand in the stairwell while the vehicle is moving
- Service animals are allowed
The narration is the secret sauce. On many runs, drivers were described as informative with humor and real city knowledge. Names that came up include Tyler and Tim, plus Sam and Oli, and Carl on a Blue Line ride. Even if you don’t catch every detail, the commentary helps you understand why a stop matters, not just where it is.
Building your own day: a simple plan that reduces stress
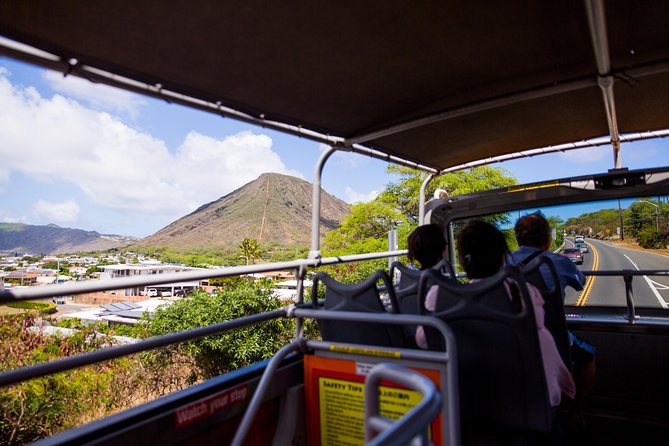
You’ll get the best results if you plan in layers.
Start with a loop: do one line’s ride end to end so you understand the geography. Then return only to the stops that fit your mood:
- Want scenery and coast photos? Revisit the Blue Line segment around Diamond Head and Koko Marina.
- Want landmarks and memorial sites? Stay focused on the Red Line stops around Iolani Palace, Punchbowl, and Aloha Tower.
If you hop off for a ticketed attraction, give yourself buffer time. Admissions aren’t included, and some places have posted closures (like HoMA’s Monday–Wednesday schedule). Also remember that you can be delayed by crowds, so plan to keep a flexible re-boarding window.
And if you’re trying to cover multiple lines, be realistic. One recurring frustration is that switching between lines can require extra walking and returning to a starting area depending on how the system is set up on the day you ride.
When things go wrong (and how to prevent it)
This tour is great when it runs smoothly, but Honolulu peak times can be brutal.
Here are the common issues to plan around:
- Crowds and standing room: On busy days, the trolley can get packed. If you want seats, arrive early.
- Wait times: Some people reported long gaps even when the advertised interval looked shorter. During peak season, assume you might wait.
- Late departures: There were cases of buses arriving significantly late, which can make the day feel rushed.
- Line or ticket mismatch: If your pass doesn’t match the line you’re boarding, you may end up stuck at the wrong stop.
- Chinatown friction: If you’re sensitive to discomfort, keep this stop brief and focus on re-boarding fast.
- Temporary disruptions: One account mentioned that a private charter impacted trolley availability at some spots. If you see confusion at the stop, ask staff quickly and adjust.
My practical advice: treat this as a flexible sightseeing tool, not a clockwork subway. If you keep your schedule loose and your re-boarding options open, it stays fun instead of stressful.
Who should book this trolley pass
This is a strong choice if:
- You want a car-free way to move between Waikiki, Diamond Head, and downtown
- You like having a plan that still lets you wander
- You’re okay buying separate admission tickets for attractions
- You’re traveling with people who want flexibility more than a strict itinerary
It may be less ideal if:
- Your day is tightly scheduled and you can’t tolerate potential waiting
- You need guaranteed seats on a crowded route
- You hate any stop that might be uncomfortable in atmosphere (Chinatown is the one to think about)
If you want a first-day “get my bearings” tool that also works on later days, this hits the mark.
Should you book it?
Book it if you want an easy, budget-friendly way to explore Honolulu in chunks—especially if you’re choosing the Blue Line for the east side or the Red Line for the downtown landmarks. It’s a smart value when you use the hop-on flexibility to build your own mini-itinerary.
Skip it (or plan to use it lightly) if you’re the type who needs everything perfectly timed and seated every time. In peak periods, the biggest risk isn’t the route—it’s the crowd level and occasional delays.
If you go in knowing that, you’ll get what you paid for: a relaxed, narrated way to see the highlights without wrestling parking or figuring out transit on the fly.
FAQ
Where is the ticket redemption point?
You redeem your ticket at 320 Royal Hawaiian Ave, Honolulu, HI 96815, across from Waikiki Shopping Plaza.
How long is the hop-on hop-off experience?
The ride is listed as about 2 hours (approx.) for the tour loop.
What pass lengths are available?
Passes are available for 1 day, 4 days, or 7 days.
Can I start at any stop or only one location?
You can start your tour at any of the stops along the line you selected.
Are admissions included for attractions?
No. Admissions are not included, so you’ll need to buy entry separately for ticketed stops.
Does the tour include hotel pickup and drop-off?
No. Hotel pickup and drop-off are not included.
Is food or smoking allowed on board?
No. Food, drinks, and smoking are not allowed on the vehicle.
What baggage can I bring?
Maximum baggage allowance is 24″ x 18″ x 12″. It must be stored on your lap.
Is the tour narrated, and is it in English?
Yes. The tour is offered in English.
Is the tour refundable or changeable after booking?
No. It is non-refundable and cannot be changed for any reason.
If you want, tell me what day(s) you’re in Oʻahu and which sights you care about most (Diamond Head, museums, beaches, zoo/aquarium, etc.). I’ll suggest the best line(s) and a simple hop-on plan that fits your time.